


Nowadays, there are many choices for ceramic tiles in home decoration. Mosaic tiles are one of them. Mosaic tiles are very popular among consumers because of their very good decorative effect, wear resistance, water resistance and plasticity. Mosaic tiles are small, so construction paving is a meticulous work. So how do mosaic tiles work? Let's take a look at the mosaic tile construction process.
First, mosaic tile construction process
1. Check the materials for construction
Before the construction, carefully check whether the mosaic in the box is enough to complete the work. On each box, we will display the model number, color number, production lot number, and other details.
2, flatten the wall foundation
The foundation of the wall is flat and must be smooth and of the same color.
3, scribing
Draw lines on the wall to determine the exact location of each mosaic. Spread the 3 environmental friendly glass mosaics side by side on the floor so that the gray seam between the sticker and the sticker is the same as the gray seam in the sticker. Measure the overall width. Then use the ruler and level to measure the measured dimension vertically and horizontally on the wall to become a large square. Then divide the large square into 9 squares, and put 1 mosaic on each square.
4, prepare tile adhesive
Prepare the tile adhesive in proportion and use the shovel to apply the tile adhesive, but the area of the smear should not exceed the area of the mosaic. First of all, use a gray shovel with smooth edges to smooth the tile adhesive. How can the decoration save money? On the home improvement network, free design budget quotes. Then use a shovel with a jagged edge to wipe out a uniform zigzag stripe. Now the mosaic can be prepared for the wall.

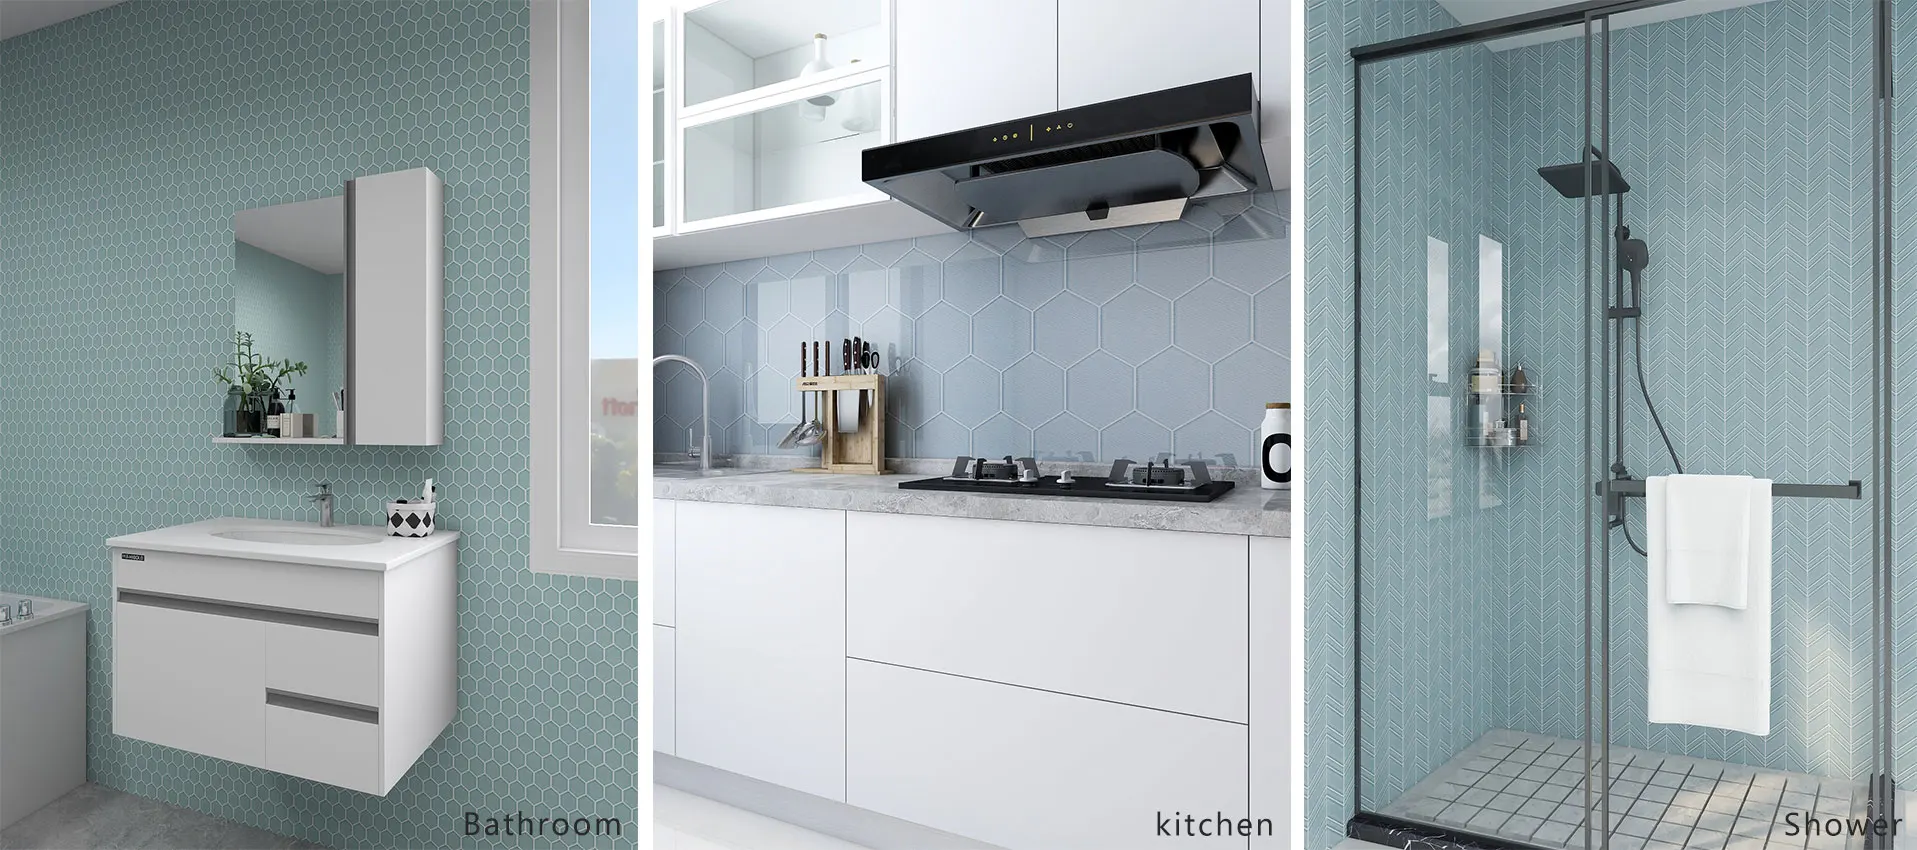
Cupid Cheveron Glass Mosaic
5, paving and fixing
Because the mosaics are all made of mesh, they can be applied directly to walls that have been coated with tile adhesive. Lay the mosaic vertically. Please note: the gap between the sticker and the sticker must be consistent with the gray seam of each sticker.
6, reinforcement
After each tile is positioned, tap the crystal glass mosaic tile surface with a gray board to make it firmly attached to the wall.
7, to ensure consistent gray joints
After each tiling is fixed, the gap between the bricks and the bricks must be determined to be uniform width before the filling of the slats begins. This requires relying on a small ash shovel to adjust the gray seam. This is a process that requires the most patience in the process of laying a mosaic, but the process of paving work is the most important part.
8, caulking agent
Prepare the required caulk. Use a small shovel, each time take a small amount of mixed caulking, evenly applied to the mosaic surface, the small ash shovel should move diagonally, first from bottom to top, then top to bottom, to ensure that all the gray seams can Completely filled with no excess residue.
9, clean
The cleaning of the hexagon glass mosaic tile surface begins before the filler is allowed to pass through. Prepare two buckets, one new detergent, one clean water, first soak the rag in the bucket of detergent, do not wring it out, then wipe the mosaic surface in a circular motion; then install it in the second Soak the sponge in the bucket, then wipe the mosaic surface with a sponge and wipe off any residue. Finally, wipe the surface again with a sponge until it is clean.
